

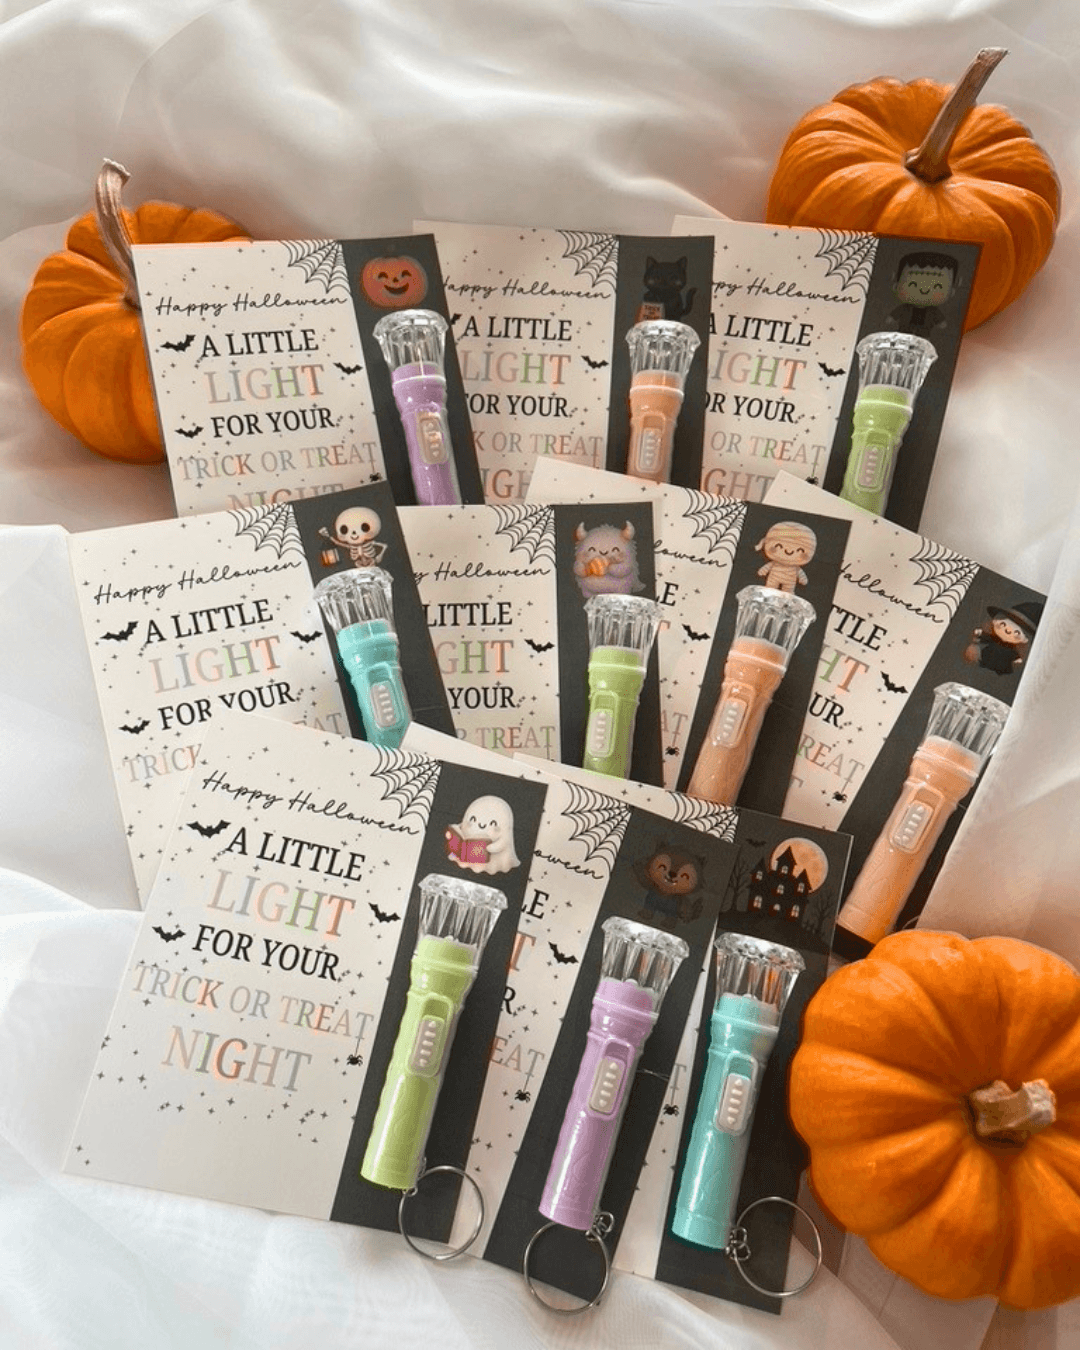
The Cutest Halloween Flashlight Favors for Kids
*This list contains affiliate links. That means I may earn a commission if you purchase through my links – at no additional cost to you
Coming up with fun Halloween favors that aren’t candy can be surprisingly difficult. You want something the kids will love, but ideally, something they can actually use, too. So, I came up with these little Halloween flashlight favors, and they turned out even cuter than I imagined!
I made these for my girls to give to their friends, and they were such a hit! The idea is simple: pair a mini flashlight with a cute Halloween backing card that says, “A Little Light for Your Trick or Treat Night.” It’s a fun little play on words that doubles as a Halloween card the kids can give to their friends at school, classroom parties, or other Halloween get-togethers.
And the best part? These aren’t just cute for the sake of being cute. The kids can use their flashlights while trick-or-treating and long after Halloween is over. The parents loved them, too, because having a little extra light made it easier to keep an eye on the kids while we were out trick-or-treating. A favor that’s fun and practical? I call that a win!
You can grab the template I created HERE to make your own. If you would like to use the same mini flashlights I did, I’ve linked those below, but any mini flashlight will work. For convenience, all linked supplies are also in my Amazon storefront.
Now, let’s make the cutest little Halloween favors!
Supplies
- A Little Light for Your Trick or Treat Night Printable Template – grab it here
- Cardstock – I use this one
- Mini Flashlights – These are the ones I used, but any mini flashlight will do.
- Double-Sided Adhesive – I use this is my go-to for attaching the flashlights to the cards.
- Ruler – Helpful for marking your cut lines.
- Scissors or Paper Cutter – Whatever you prefer for cutting out your cards. This is my favorite paper cutter
- Favor Bags – I found mine at Michaels, but here is a similar option
How to Make the Halloween Flashlight Favors
1. Download the printable.
Start by downloading the A Little Light for Your Trick or Treat Night template. Choose the version with cut guides or the one without, depending on your preference.
2. Print your cards.
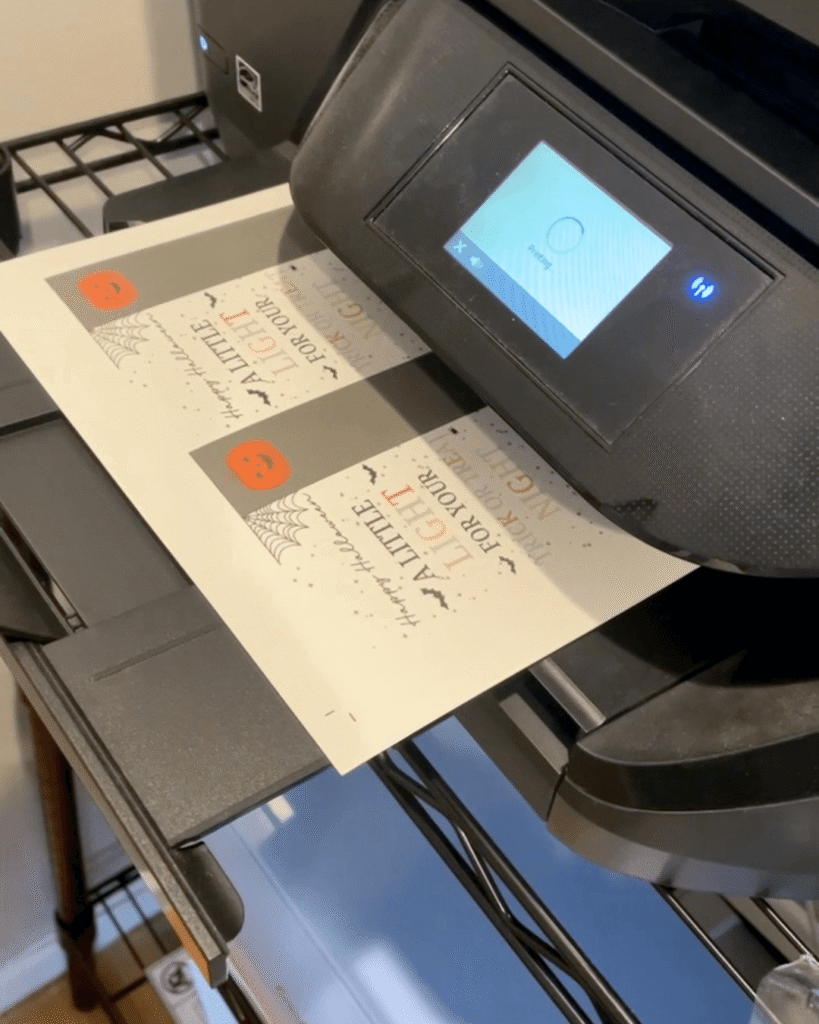
Print the template on white cardstock for a sturdier backing card. I use this one. Be sure to print at the intended size so your cards fit your mini flashlights.
3. Mark your cut lines.
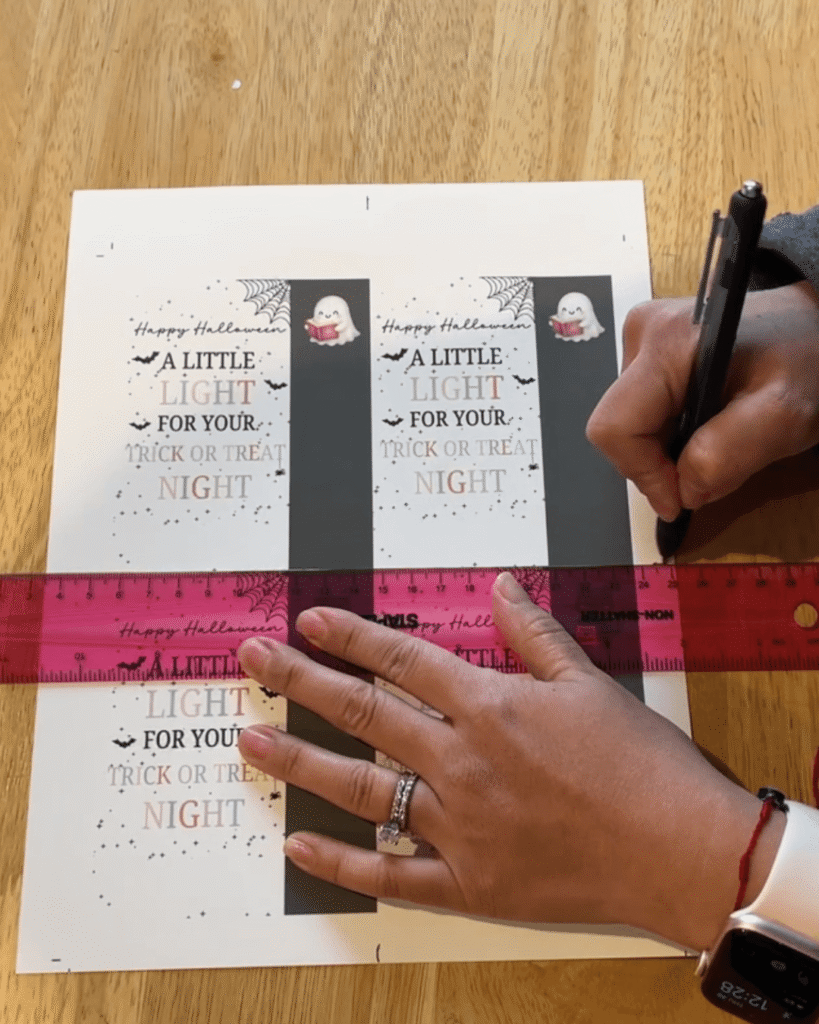
If you’re using the version without cut guides, grab your ruler and lightly mark where you’ll need to cut. This step is optional if you’re using the version with cut guides.
4. Cut out the cards.
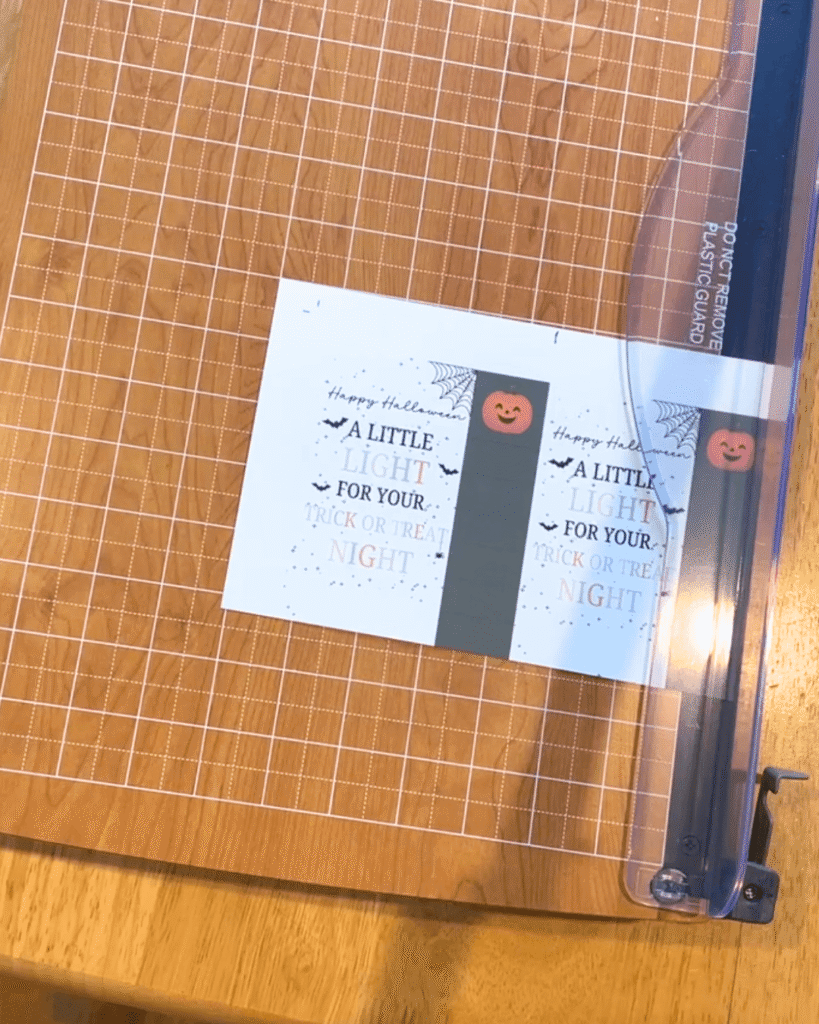
Carefully cut out each backing card using scissors or a paper cutter.
5. Personalize your favors.
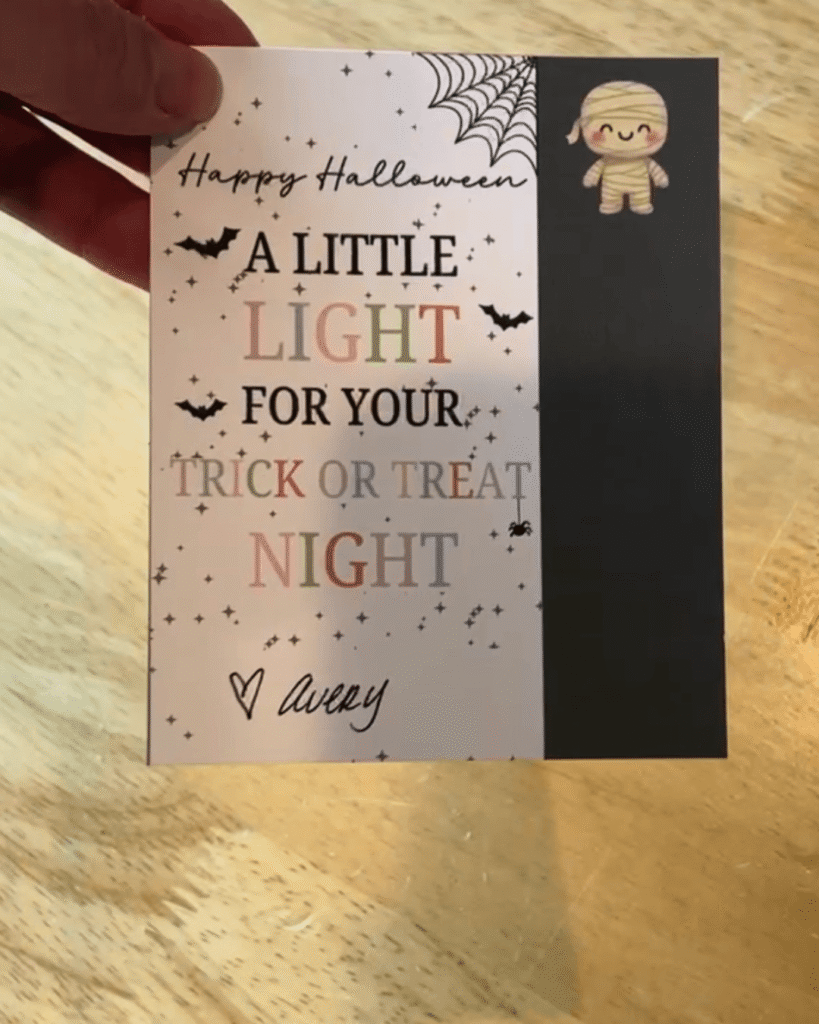
Want to make them a little more special? Add each child’s name to the card before attaching the flashlight. This is completely optional, but it’s a cute touch if you’re handing them out to friends or classmates.
6. Attach the mini flashlights.
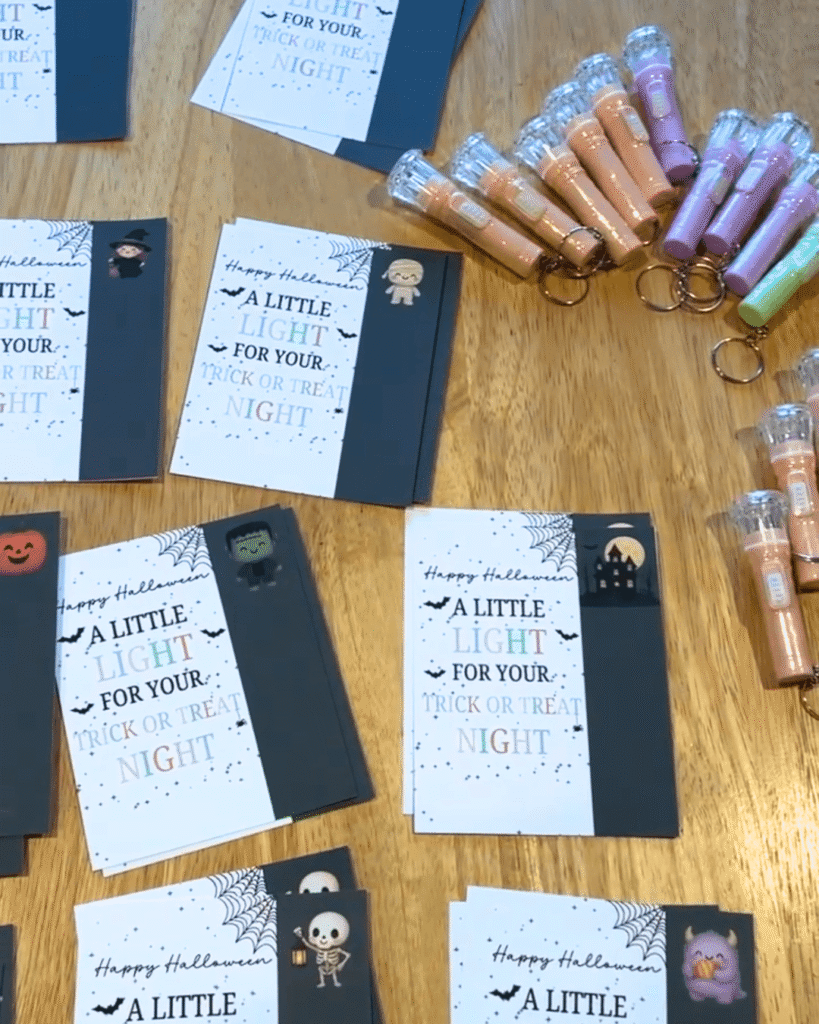
Use double-sided adhesive to secure each flashlight to its backing card.
A little tip from my trial and error: I tried both hot glue and glue dots, and neither worked very well for me. Double-sided adhesive was the winner and I used this one.
7. Package your Halloween favors in festive bags
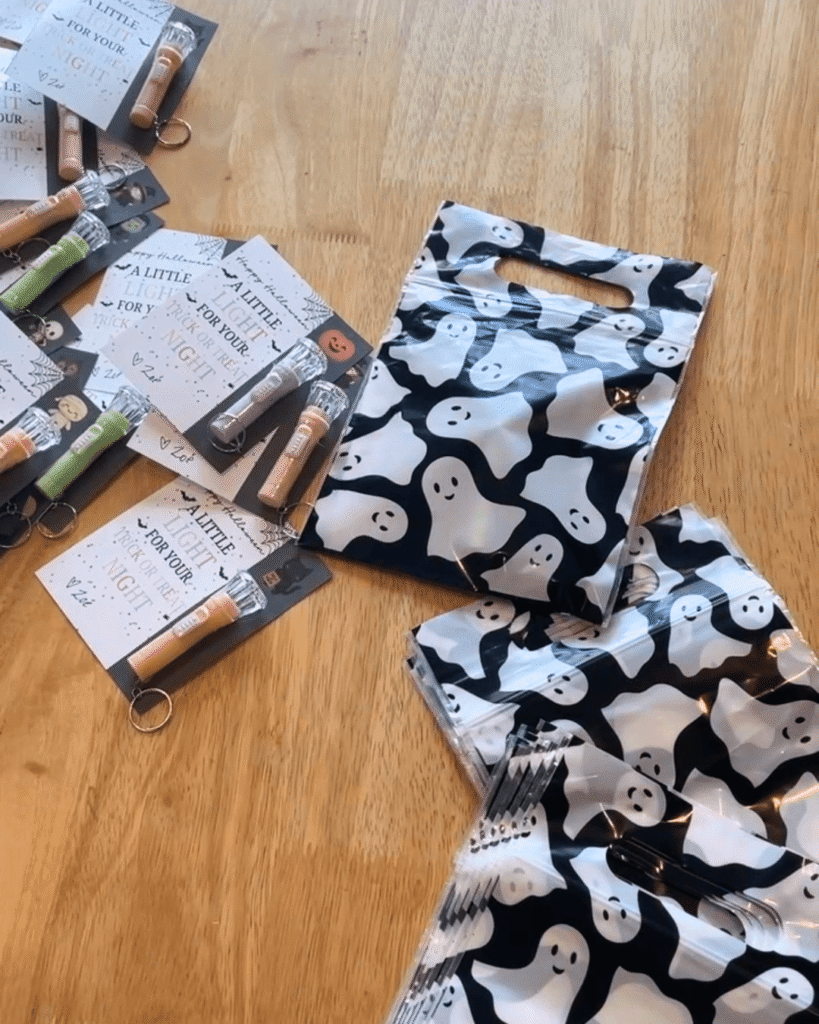
Gently place each finished card and flashlight into a favor bag, and you’re all set! I found mine at Michaels, but here is a similar option. They are now ready for classroom parties, Halloween gatherings, or a little surprise for your favorite trick-or-treaters.
And that’s it! A simple, useful, and adorable Halloween favor that’s sure to bring a little extra light to your trick-or-treat night.
Happy crafting!